Introduction
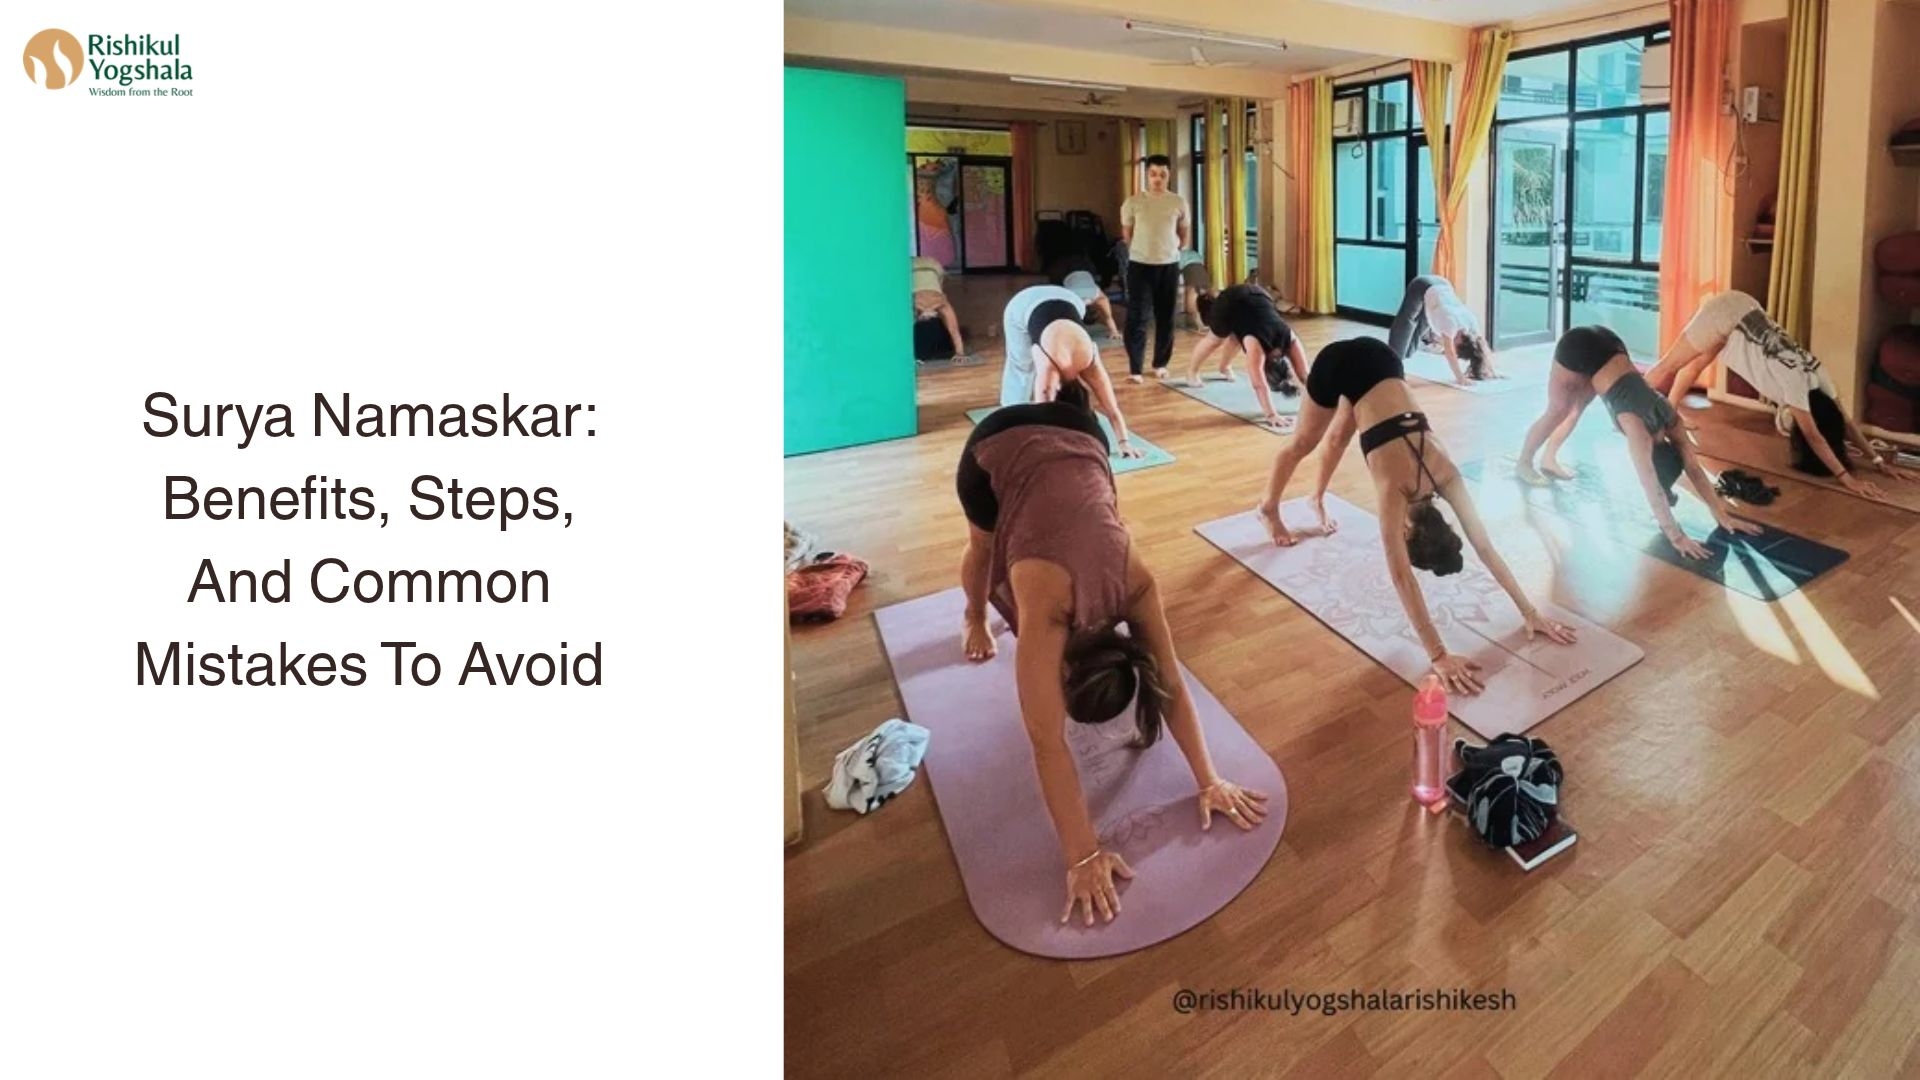
Surya Namaskar, commonly known as Sun Salutation, is one of the most recognised sequences in traditional yoga. It combines a series of physical postures with coordinated breathing, creating a flowing practice that involves the entire body.
The Sanskrit term Surya means sun, while Namaskar means salutation or greeting. Traditionally, the sequence is associated with expressing gratitude towards the sun, which represents energy and vitality.
Today, Surya Namaskar is practised by beginners, experienced yoga students, and fitness enthusiasts. Its combination of stretching, controlled movement, and breath awareness makes it a useful part of many yoga routines.
What Is Surya Namaskar And Why Is It Practised?
Surya Namaskar is a sequence of interconnected yoga postures performed in a particular order. Each movement is generally coordinated with inhalation or exhalation.
The sequence typically includes standing, forward bending, lunging, plank-like positioning, lowering the body, and gentle spinal extension. The exact form may vary between yoga traditions.
One reason for its popularity is that it brings several physical movements together in a relatively short practice. It can support mobility, coordination, balance, and body awareness when performed with appropriate technique.
For students interested in understanding traditional yoga in a structured setting, a 200 hour yoga teacher training in rishikesh offers an opportunity to study asana techniques, breathing principles, anatomy, and teaching methodology.
12 Steps Of Traditional Surya Namaskar
A commonly taught version of Sun Salutation includes the following 12 positions. Beginners should learn the sequence gradually and use modifications where needed.
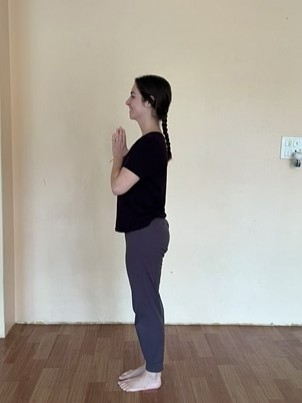
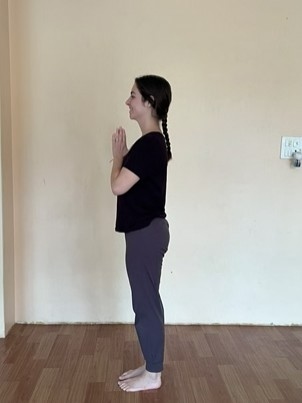
Step 1: Pranamasana (Prayer Pose)
Stand upright with your feet together or comfortably apart. Bring your palms together in front of your chest and relax your shoulders.
Keep your spine naturally aligned and take a few steady breaths.
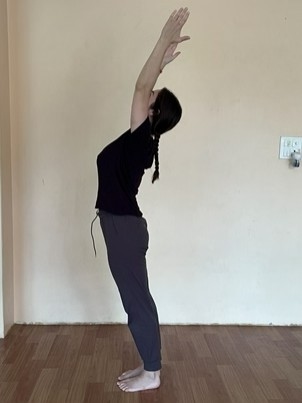
Step 2: Hasta Uttanasana (Raised Arms Pose)
Inhale and raise both arms overhead. Gently extend the upper body without compressing the lower back.
Keep your movements controlled and avoid forcing a deep backbend.
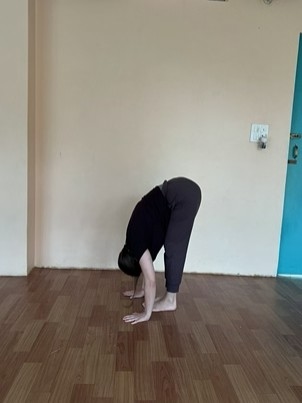
Step 3: Padahastasana (Standing Forward Bend)
Exhale and bend forward from the hips. Bring your hands towards the floor, ankles, or shins according to your flexibility.
Bend your knees slightly if your hamstrings feel tight.
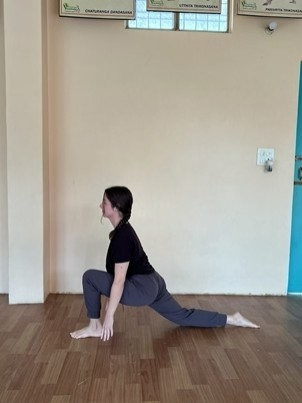
Step 4: Ashwa Sanchalanasana (Equestrian Pose)
Inhale and step your right leg backwards. Place your hands beside the front foot and lower the back knee if necessary.
Keep the front knee comfortably aligned over the ankle.
Step 5: Dandasana (Plank Pose)
Move the other leg backwards and bring your body into a straight line. Engage your abdominal muscles and avoid allowing the hips to drop.
Beginners can lower their knees for additional support.
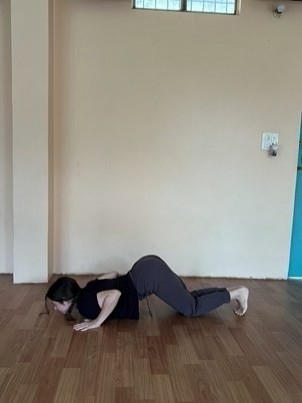
Step 6: Ashtanga Namaskara (Eight-Point Salute)
Exhale and gently lower your knees, chest, and chin towards the floor while keeping the hips slightly raised.
This position involves eight points of contact with the ground: two feet, two knees, two hands, chest, and chin.
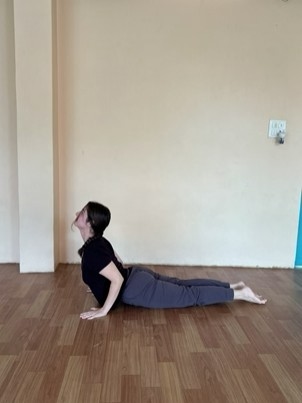
Step 7: Bhujangasana (Cobra Pose)
Inhale and slide your chest forward, gently lifting it into Cobra Pose.
Keep your elbows slightly bent and avoid pushing the lower back into an uncomfortable position.
Step 8: Parvatasana (Mountain Pose)
Exhale and lift your hips upwards, forming an inverted V shape.
Press your hands into the mat and allow your head to relax between your arms. Your knees may remain bent.
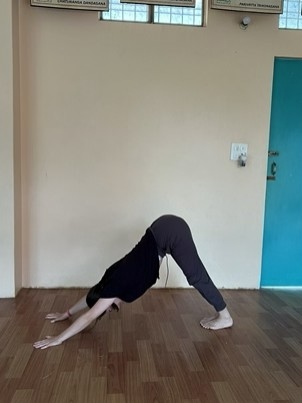
Step 9: Ashwa Sanchalanasana
Inhale and bring your right foot forward between your hands. Lower the opposite knee if needed and look forward comfortably.
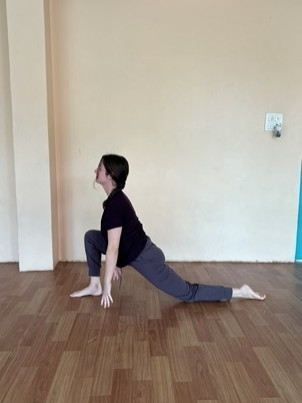
Step 10: Padahastasana
Exhale and bring the back foot forward. Allow the upper body to fold towards the legs without forcing the stretch.
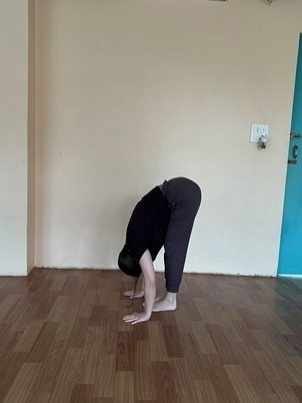
Step 11: Hasta Uttanasana
Inhale and slowly rise, lifting both arms overhead. Extend gently through the upper body.
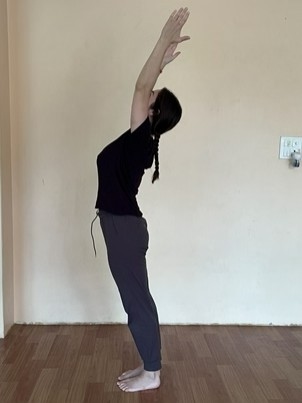
Step 12: Pranamasana
Exhale and bring your palms together in front of your chest. Return to a comfortable standing position.
Repeat the sequence with the opposite leg leading to maintain balance between both sides.
Physical And Mental Benefits Of Surya Namaskar
Surya Namaskar combines movement and breathing, offering several potential benefits when practised regularly and correctly.
1. Improves Flexibility
The sequence includes forward bends, gentle back extensions, and lunging positions. These movements take different muscle groups through controlled ranges of motion.
Regular practice may gradually improve flexibility in the hamstrings, hips, shoulders, and spine.
2. Develops Strength And Stability
Positions such as Plank, Cobra, and Mountain Pose involve the arms, shoulders, abdomen, and legs.
Performing these postures with correct alignment can help develop muscular endurance and body control.
3. Encourages Cardiovascular Activity
When performed continuously at a suitable pace, Surya Namaskar can increase physical activity and raise the heart rate.
The intensity depends on the number of rounds, movement speed, and individual fitness level.
4. Improves Coordination
Each posture is connected to a breathing pattern. Learning to coordinate movement with inhalation and exhalation can develop concentration and movement awareness.
5. Encourages Mindful Practice
The repeated sequence provides an opportunity to focus on breathing rather than external distractions. This can make Sun Salutation a useful part of a mindful morning routine.
Common Surya Namaskar Mistakes To Avoid
Beginners sometimes focus on completing the sequence quickly instead of understanding each posture.
Here are some common mistakes to watch for.
Rushing through the sequence: Move slowly until you understand the correct transitions.
Forcing forward bends: Bend your knees if necessary instead of pulling your upper body towards the floor.
Compressing the lower back: Keep back extensions gentle and distribute movement comfortably.
Holding the breath: Maintain natural breathing without unnecessary breath retention.
Incorrect plank alignment: Avoid dropping your hips or lifting them excessively.
Overstretching the shoulders: Keep your arms and shoulders comfortable during overhead movements.
Ignoring body limitations: Modify or skip positions that cause pain.
When And How Often Should You Practise?
Many practitioners prefer practising Surya Namaskar in the morning as part of their daily routine. However, it can also be performed at another suitable time when the body is prepared.
Beginners can start with two or three slow rounds and gradually increase the number according to their comfort and fitness.
Practising on a mat with enough space is recommended. Avoid performing the sequence immediately after a heavy meal.
People with uncontrolled blood pressure, significant spinal problems, recent injuries, or other medical concerns should seek appropriate professional guidance before beginning.
Understanding Surya Namaskar Through Yoga Education
Learning yoga involves more than memorising the names of postures. Students also need to understand alignment, breathing coordination, safe modifications, and the purpose behind each movement.
Those planning to become a yoga teacher in india can benefit from studying different yoga traditions and their approaches to Sun Salutation.
A Yoga school in rishikesh may offer structured learning in Hatha Yoga, Ashtanga Vinyasa, pranayama, anatomy, and teaching methodology. At Rishikul Yogshala Rishikesh, students can explore these subjects through practical and theoretical learning.
A comprehensive yoga training course india can also help students understand how to demonstrate postures, observe alignment, and guide beginners safely.
For anyone considering a 200 hour yoga teacher training in rishikesh, learning the foundations of Surya Namaskar can be an important part of developing a broader understanding of yoga practice.
Frequently Asked Questions
1. How Many Steps Are There In Surya Namaskar?
A commonly taught traditional version contains 12 positions. Some variations may use different sequences or repetitions.
2. Is Surya Namaskar Suitable For Beginners?
Yes, beginners can learn it gradually. Modifications such as bending the knees, lowering the knees during Plank, and reducing the range of movement can make the sequence more accessible.
3. How Many Rounds Of Surya Namaskar Should Beginners Do?
Beginners can start with two or three comfortable rounds and increase gradually. The appropriate number depends on fitness, experience, and physical condition.
4. Can Surya Namaskar Help Improve Flexibility?
Its combination of forward bends, lunges, and gentle extensions may support flexibility over time when practised consistently.
5. Is Morning The Best Time For Surya Namaskar?
Morning is a popular time because it can establish a regular routine. However, it can be practised at another suitable time when the body is ready.
Conclusion
Surya Namaskar is a practical yoga sequence that combines movement, breathing, and awareness. Its 12 positions offer opportunities to develop flexibility, strength, coordination, and a more mindful relationship with physical activity.
For beginners, the most important thing is to learn the correct technique rather than focus on speed or the number of rounds. With patience and consistent practice, Sun Salutation can become a valuable part of everyday yoga.