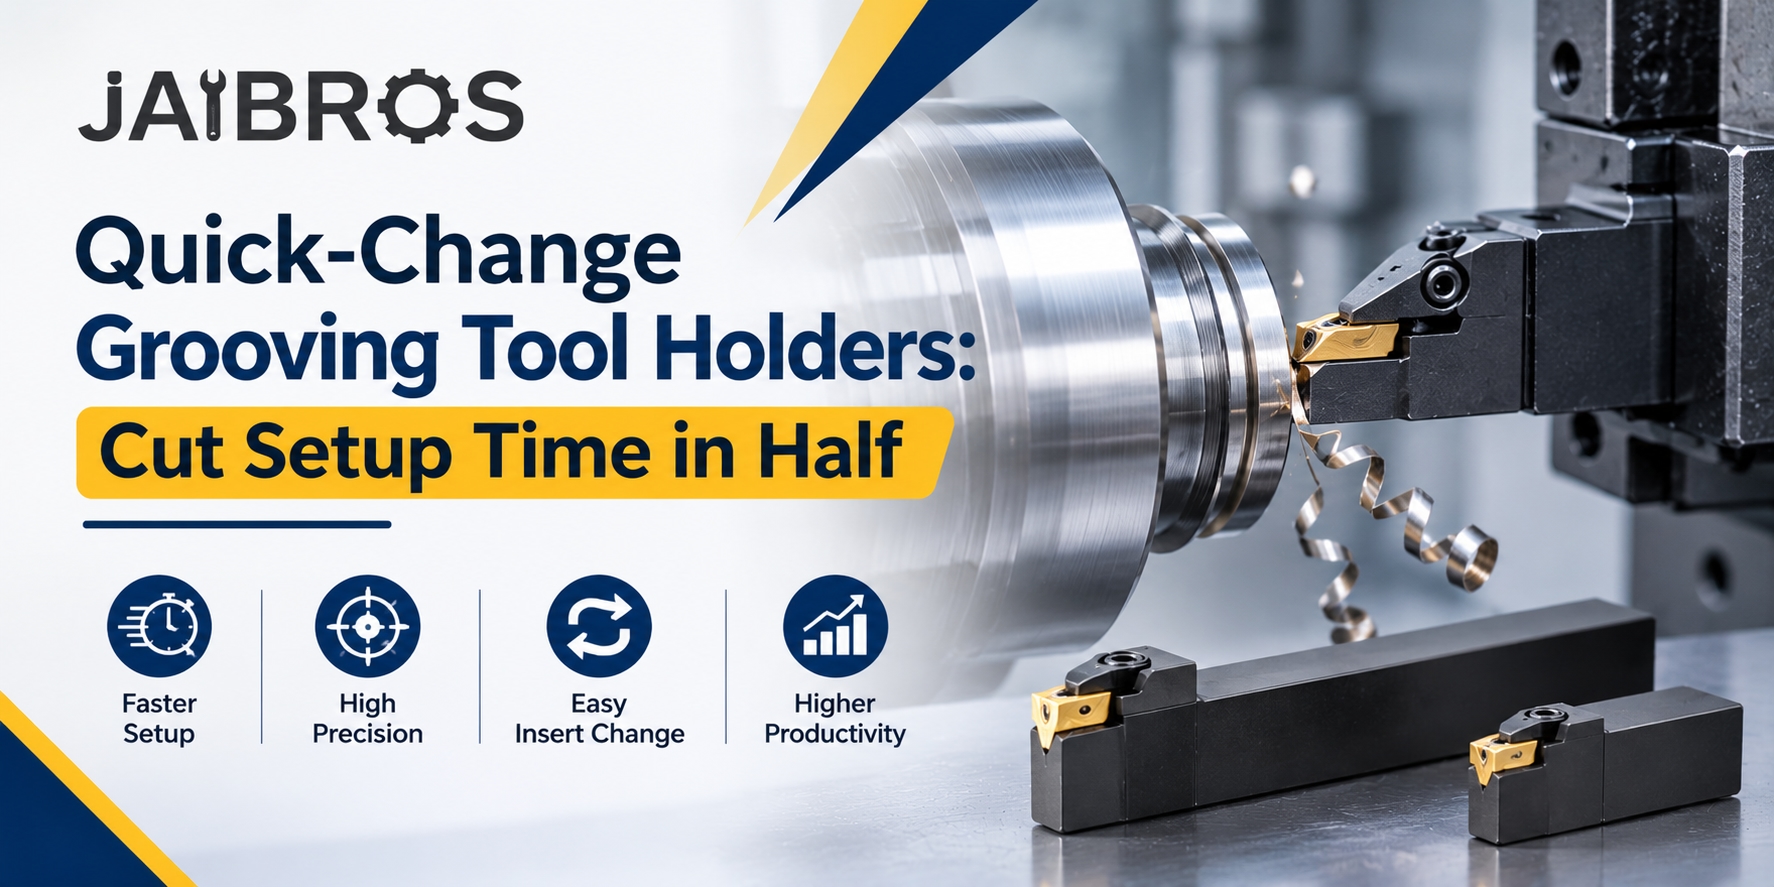
In many machine shops, the lathe sits idle while someone swaps tools, resets offsets, and runs test cuts. On a grooving tool lathe job with several groove widths, that lost time adds up quickly. Quick-change holders are built to reduce it. This guide explains how they work, where they help most, and how to choose and use them.
What Is a Quick-Change Holder System?
A quick-change system has two main parts: a fixed base mounted on the turret or tool post, and interchangeable heads, blades, or cassettes that clamp onto it. The base stays in place. Only the cutting head is swapped.
Think of a grooving tool holder as the link between the machine and the insert. It must be rigid, accurately positioned, and able to deliver coolant to the cutting edge. In a quick-change design, the holder also locates the head in the same position every time, so you do not need to touch the machine setup again.
How Quick-Change Holders Reduce Setup Time
Setup time is lost in several small steps:
Loosening and removing the old tool
Mounting the new tool and aligning it to the centerline
Measuring and entering tool offsets
Running test cuts and making adjustments
A quick-change system shortens or removes most of these steps. The base is already aligned, and the new head locks into a fixed seat. Because the position repeats closely, offsets often need only a small correction instead of a full re-measurement.
Savings vary by shop and job, but many users report that changeovers take about half the time, or less, compared with clamping loose tool blocks. The gain is largest on short production runs and jobs with frequent tool changes.
Key Benefits for Shops
Less machine downtime. Shorter changeovers mean more spindle time spent cutting.
Better repeatability. A fixed seat and clamping surface reduce operator-to-operator variation.
Easier tool changes for new operators. The process is simple and needs less skill than manual alignment.
Improved coolant delivery. Many quick-change holders have internal coolant channels that aim fluid at the cutting edge. This helps with chip control and heat, especially in deep grooves.
Flexible tooling. One base can hold heads for different groove widths, depths, or profiles, so you keep fewer complete tool assemblies on the shelf.
Face Grooving: Special Considerations
Face grooving cuts a groove into the flat end of a part, often for seals, O-rings, or oil channels. A cnc face grooving tool is not the same as an outside diameter groover. The blade is curved to match the radius of the groove, and it only works within a specific diameter range.
If the blade curvature does not match the groove diameter, the side of the blade can rub the groove wall, which causes poor finish, vibration, or breakage. Always check the minimum and maximum groove diameter on the tool’s specification before use. Quick-change heads make it easier to swap between different diameter ranges without rebuilding the setup.
How to Choose the Right Holder
Consider these points before you buy or switch:
Groove type: Outside, inside, face, or parting. Each needs a different head and holder style.
Groove width and depth: The insert width and the maximum depth capacity of the blade must match your drawing.
Machine interface: Check the shank size, turret type, and whether your machine supports through-tool coolant.
Rigidity: Choose the shortest overhang that still reaches the groove, because long reach increases vibration.
Material: Steel, stainless steel, aluminum, and heat-resistant alloys each need a suitable insert grade and geometry.
Tips for Better Results
Clean the seat. Chips or dirt under the head ruin repeatability. Wipe the seat each time you change a head.
Use the correct torque. Over-tightening can distort the clamp, and under-tightening allows movement.
Set the centerline height correctly. An off-center groover wears unevenly and can break the insert.
Reduce feed on entry. Many operators use a lower feed when the insert first enters the material, then return to normal feed.
Use coolant well. Direct it at the cutting edge to flush chips out of the groove.
Peck when needed. In deep grooves, a short retract helps break chips and prevents packing.
Inspect inserts regularly. Replace them at the first sign of chipping or heavy flank wear.
Conclusion
Quick-change holders let shops spend less time on setups and more time producing good parts. They bring repeatable positioning, easier training, and flexible tooling to both standard and face groove work. By matching the holder to your machine, choosing the right grooving tool for each groove, and following simple maintenance habits, you can make changeovers faster and more consistent.
If you are looking for dependable tooling options for your lathe, you can explore the range at Jaibros to find holders and inserts that suit your machining needs. Their catalog is a useful place to compare tool types and choose the right fit for your next job.
Frequently Asked Questions
1. What is a quick-change grooving tool holder?
It is a holder with a fixed base and interchangeable cutting heads. The base stays mounted on the machine while heads are swapped in a fixed, repeatable position. This removes most alignment work, so changeovers are faster and offsets need only minor correction.
2. How much setup time can a quick-change system save?
Savings depend on the job and the shop. Many users report cutting changeover time by about half compared with traditional clamped tool blocks. Short production runs and frequent groove-width changes benefit the most, because setup makes up a larger share of total time.
3. Can I use quick-change holders on any lathe?
Most CNC lathes can use them, but you must match the shank size, turret style, and coolant connection. Check your machine’s tool interface before choosing. Through-tool coolant is helpful but not always required, and some holders also work with external coolant nozzles.
4. What is the difference between face grooving and OD grooving?
OD grooving cuts into the outside diameter of a part, usually with a straight blade. Face grooving cuts into the flat end face and uses a curved blade matched to the groove radius. Each needs its own insert and holder style, so they are not interchangeable.
5. How do I extend insert life when grooving?
Use the correct speed, feed, and coolant for the material. Keep overhang short, set the tool on centerline, and reduce feed when entering the cut. Clear chips often with pecking cycles, and replace the insert at the first sign of chipping or heavy wear.