When your website starts generating more enquiries, managing every lead through email notifications and the WordPress dashboard can become difficult. You need to know who contacted you, which service they want, whether someone has followed up, and which opportunities are still open.
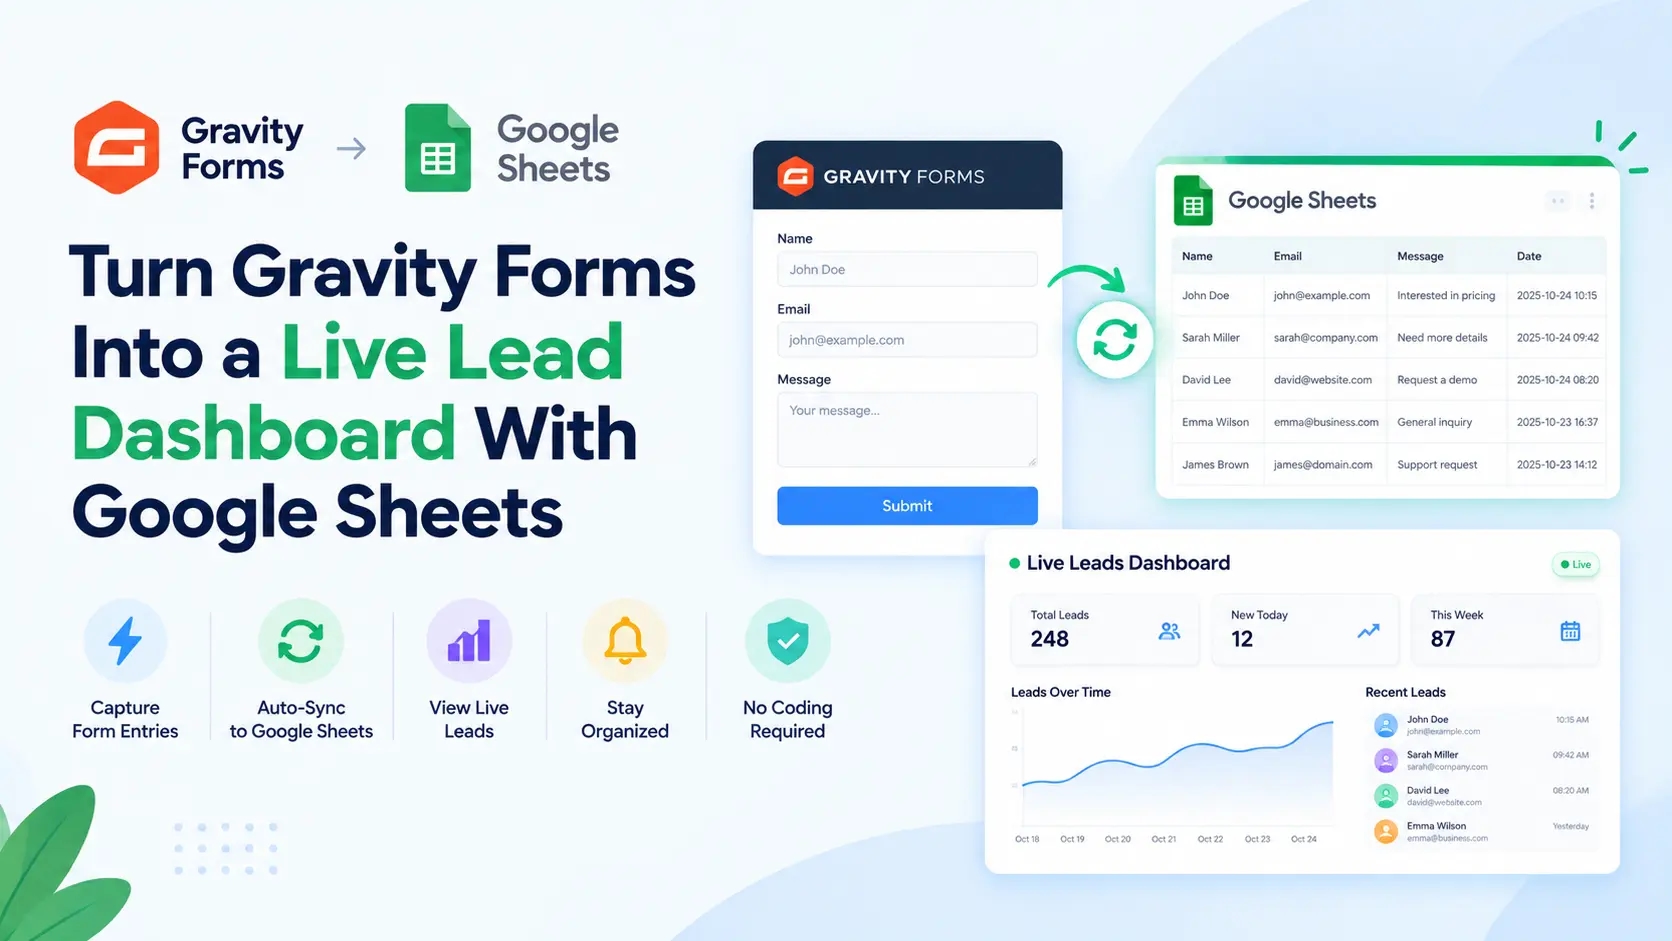
A practical solution is to turn Gravity Forms into a live lead dashboard using Google Sheets. By connecting your WordPress forms to a spreadsheet, you can automatically collect submissions and organize them into a shared workspace for your sales or customer service team.
Instead of manually exporting entries or copying information from emails, you can build a simple lead management system that shows incoming enquiries, tracks their status, and helps your team decide what to do next.
In this guide, you will learn how to connect Gravity Forms to Google Sheets with GSheetConnector, design a useful lead dashboard, and create a workflow for managing new enquiries.
What Is a Live Lead Dashboard?
A live lead dashboard is a central view of incoming prospects and their progress through your sales process. It combines lead information with operational details, such as follow-up status, ownership, and next actions.
For example, a marketing agency might use Gravity Forms to collect requests for website development, SEO services, or consultations. Each submission can be added to a Google Sheet, where the team can record whether the prospect has been contacted, qualified, or converted into a customer.
A useful lead dashboard typically includes:
Contact details and enquiry information
Submission date and lead source
Requested product or service
Lead status
Assigned salesperson or team member
Next follow-up date
Notes and final outcome
The important distinction is that Gravity Forms collects the information, Google Sheets organizes it, and your team uses the dashboard to manage the follow-up process.
Why Connect Gravity Forms to Google Sheets?
Gravity Forms provides a flexible way to build WordPress forms, but businesses often need a convenient way to review and analyze the information they collect.
Connecting Gravity Forms to Google Sheets can help in several ways.
Automatically collect new leads
A configured Google Sheets connector can send new form submissions to the selected spreadsheet automatically. This removes the need to transfer each enquiry manually.
Create a shared view of enquiries
Authorized team members can access the same spreadsheet, review incoming leads, and update their progress without relying entirely on forwarded emails.
Track follow-up responsibilities
Additional columns let you assign each lead to a team member and record the next action. This makes it easier to identify enquiries that still need a response.
Understand your lead pipeline
You can use spreadsheet filters, formulas, and pivot tables to review enquiry volume, service demand, and lead outcomes.
Keep the workflow simple
For a small business, freelancer, or growing agency, Google Sheets can provide a practical starting point for lead management without the complexity of a dedicated CRM.
How to Turn Gravity Forms Into a Live Lead Dashboard
You can create this workflow with GSheetConnector for Gravity Forms. The connector transfers configured form data to Google Sheets, where you can organize it into a dashboard.
Step 1: Create a Gravity Form for Lead Collection
Start by opening your WordPress dashboard and navigating to Forms.
Create a new form or edit an existing form that collects enquiries. Include only the fields you need to understand and respond to each lead.
For example, a service enquiry form might collect:
Name
Email address
Phone number, if required
Service requested
Project details
Preferred contact method
Keep the form easy to complete. Asking for unnecessary information can create friction for potential customers.
Save the form and test it on your website to confirm that the fields work as expected.
Step 2: Prepare Your Google Sheets Lead Tracker
Open Google Sheets and create a spreadsheet called Website Lead Dashboard.
Create a structure that separates the information collected from the form from the details your team updates later.
Column | Purpose |
|---|---|
Entry Date | When the enquiry was received |
Name | Prospect's name |
Contact email | |
Service | Requested service |
Lead Source | Campaign or landing page |
Lead Status | Current pipeline stage |
Assigned To | Responsible team member |
Follow-Up Date | Next planned action |
Notes | Conversation history or next steps |
The first five columns can contain information from the form or configured submission metadata. The remaining columns can be maintained by your team.
For example, a new enquiry might be marked as New, assigned to a salesperson, and given a follow-up date. After the salesperson contacts the prospect, they can update the status to Contacted.
This structure turns a simple list of submissions into a working lead management dashboard.
Step 3: Install and Connect GSheetConnector
Install and activate the appropriate GSheetConnector plugin for Gravity Forms.
Open its integration settings in WordPress and connect your Google account using a supported authentication method. Follow the authorization instructions and confirm that the connection is active.
Depending on your requirements and plugin version, authentication options may include an existing Google authentication method, manual OAuth configuration, or service account authentication.
For a basic setup, start with a supported authentication method that meets your needs. Advanced methods may require additional Google Cloud configuration.
Once Google authentication is complete, confirm that the account has permission to access your destination spreadsheet.
Step 4: Create a Feed for Your Gravity Form
A feed tells the connector which form to synchronize and where to send the data.
For the Pro version, navigate to Forms, edit your form, and open Settings → Emails & Actions. Add a new section, select Google Sheet Connector Pro, and create a new feed.
Give the feed a descriptive name, such as Website Lead Dashboard.
Save the feed and open its configuration.
If you use the free version, open the Google Sheets tab for your form and use the available Add New Feed option. The settings and available features differ between versions.
Step 5: Select the Spreadsheet and Map Fields
In the feed settings, select the Google spreadsheet you prepared.
With automatic configuration, you can fetch available spreadsheets and select the destination worksheet. If you use manual configuration, enter the required spreadsheet and worksheet details.
Next, select the Gravity Forms fields that should be sent to Google Sheets.
For example:
Name → Name
Email → Email
Service Requested → Service
Entry Date → Entry Date, if configured
Source URL → Lead Source, if available through supported metadata
The exact options depend on your connector version and the fields configured in Gravity Forms.
Review the field order and labels. Save the feed after confirming that the destination and mapping are correct.
Step 6: Test the Complete Workflow
Open the page where your Gravity Form is published and submit a test enquiry using information you control.
Then open your Google Sheet and confirm that the new submission appears in the expected columns.
Check that:
The correct form is connected.
The entry reaches the correct spreadsheet and worksheet.
Each field is stored in the intended column.
The feed is active.
No obvious synchronization error is reported.
Do not assume the integration is working simply because the form displays a success message. Confirm that the record actually appears in Google Sheets.
Once the test succeeds, new submissions can be synchronized automatically according to the feed configuration.
Turn Your Spreadsheet Into an Actionable Lead Dashboard
After connecting Gravity Forms, organize the spreadsheet so that your team can use it every day.
Create consistent lead status options
Use a dropdown in the Lead Status column with options such as:
New
Contacted
Qualified
Meeting Scheduled
Proposal Sent
Won
Lost
Google Sheets data validation can help ensure that team members use consistent status labels.
This makes it easier to filter the dashboard and count how many leads are in each stage.
Highlight leads that need attention
Use conditional formatting to highlight overdue follow-up dates or enquiries that have remained in the New status for too long.
For example, you could highlight a row when the follow-up date has passed and the lead has not been marked Won or Lost.
This visual cue helps your team identify outstanding work without reviewing every row individually.
Assign leads to team members
Add an Assigned To column and create a dropdown containing the names of your team members.
Every active lead should have a clear owner. This helps prevent duplicate outreach and reduces the risk of enquiries being ignored because everyone assumes someone else will respond.
Build a summary section
You can create a simple dashboard at the top of your spreadsheet or on a separate worksheet.
Useful metrics include:
Total enquiries received
New leads awaiting contact
Qualified leads
Proposals sent
Leads won
Leads lost
For example, if the Lead Status values are in column F, you can count new leads with:
=COUNTIF(F2:F,"New")
To count leads marked Won, use:
=COUNTIF(F2:F,"Won")
These formulas assume that column F contains the lead status and that row 1 contains the headers. Adjust the column reference if your spreadsheet uses a different layout.
If you calculate a conversion rate, define the reporting period and denominator clearly. The percentage of leads marked Won is not necessarily the same as the conversion rate of all website visitors.
Filter leads by service or source
If your form collects service interests or campaign information, use filters to compare enquiries from different sources.
For example, an agency might filter the dashboard to see which service generates the most enquiries or which landing pages produce leads that progress to a proposal.
Source information should be collected or configured deliberately. Do not assume that every form submission automatically includes accurate campaign attribution.
Important Limitations to Understand
Google Sheets is useful for lightweight lead management, but it is not a complete replacement for every CRM.
A spreadsheet can organize records and support basic reporting, but it will not automatically guarantee that a salesperson contacts every prospect. Team members still need a consistent process for reviewing new leads and updating statuses.
Likewise, a new form submission does not guarantee that a corresponding spreadsheet row has been saved successfully. Authentication problems, incorrect feed settings, or permissions issues can interrupt synchronization.
For important business enquiries, monitor the integration and consider retaining an additional submission record. Restrict spreadsheet access to authorized users and avoid sending unnecessary sensitive information.
If you need complex automation, detailed interaction histories, automated sales sequences, or advanced reporting, evaluate whether a dedicated CRM is a better long-term fit.
Frequently Asked Questions
Can Gravity Forms automatically send leads to Google Sheets?
Yes. A compatible Google Sheets connector can synchronize new Gravity Forms submissions with a configured spreadsheet. After setting up authentication, the feed, and field mapping, verify the connection with a test submission.
Can Google Sheets be used as a CRM for Gravity Forms?
Google Sheets can serve as a lightweight lead tracker for small teams. You can organize contacts, assign owners, record statuses, and manage follow-up dates. Businesses that need more advanced sales automation may require a dedicated CRM.
Can I connect multiple Gravity Forms to different spreadsheets?
Yes. GSheetConnector Pro supports multiple feeds, allowing a form to send entries to different spreadsheets or worksheet tabs. Conditional feed rules can also help route entries according to configured conditions.
Can I synchronize old Gravity Forms entries?
GSheetConnector Pro includes an option to synchronize existing entries, subject to the plugin's settings and requirements. This can be useful when building a dashboard from previously collected submissions. Check the feed's synchronization settings before importing historical data.
What should I do if new leads do not appear in Google Sheets?
Check that the feed is active, the Google account is authorized, the correct spreadsheet and worksheet are selected, and the required fields are configured. Submit another test entry and inspect available diagnostics if the problem persists.
Does Gravity Forms need an additional paid add-on to connect to Google Sheets?
GSheetConnector provides a dedicated integration for Gravity Forms. Check the current plugin requirements and the features included in the free and Pro versions to choose the configuration that suits your workflow.
Final Thoughts
Turning Gravity Forms into a live lead dashboard is a practical way to make website enquiries easier to manage. A Google Sheets connector automates data collection, while spreadsheet features help you organize prospects, assign responsibility, and track follow-ups.
Start with one form and a clearly structured spreadsheet. Verify that submissions arrive correctly, establish consistent lead statuses, and add reporting features as your needs grow.
The real benefit is not simply storing more data. It is creating a repeatable process that helps your team respond to enquiries, keep track of opportunities, and make better use of the leads your website generates.