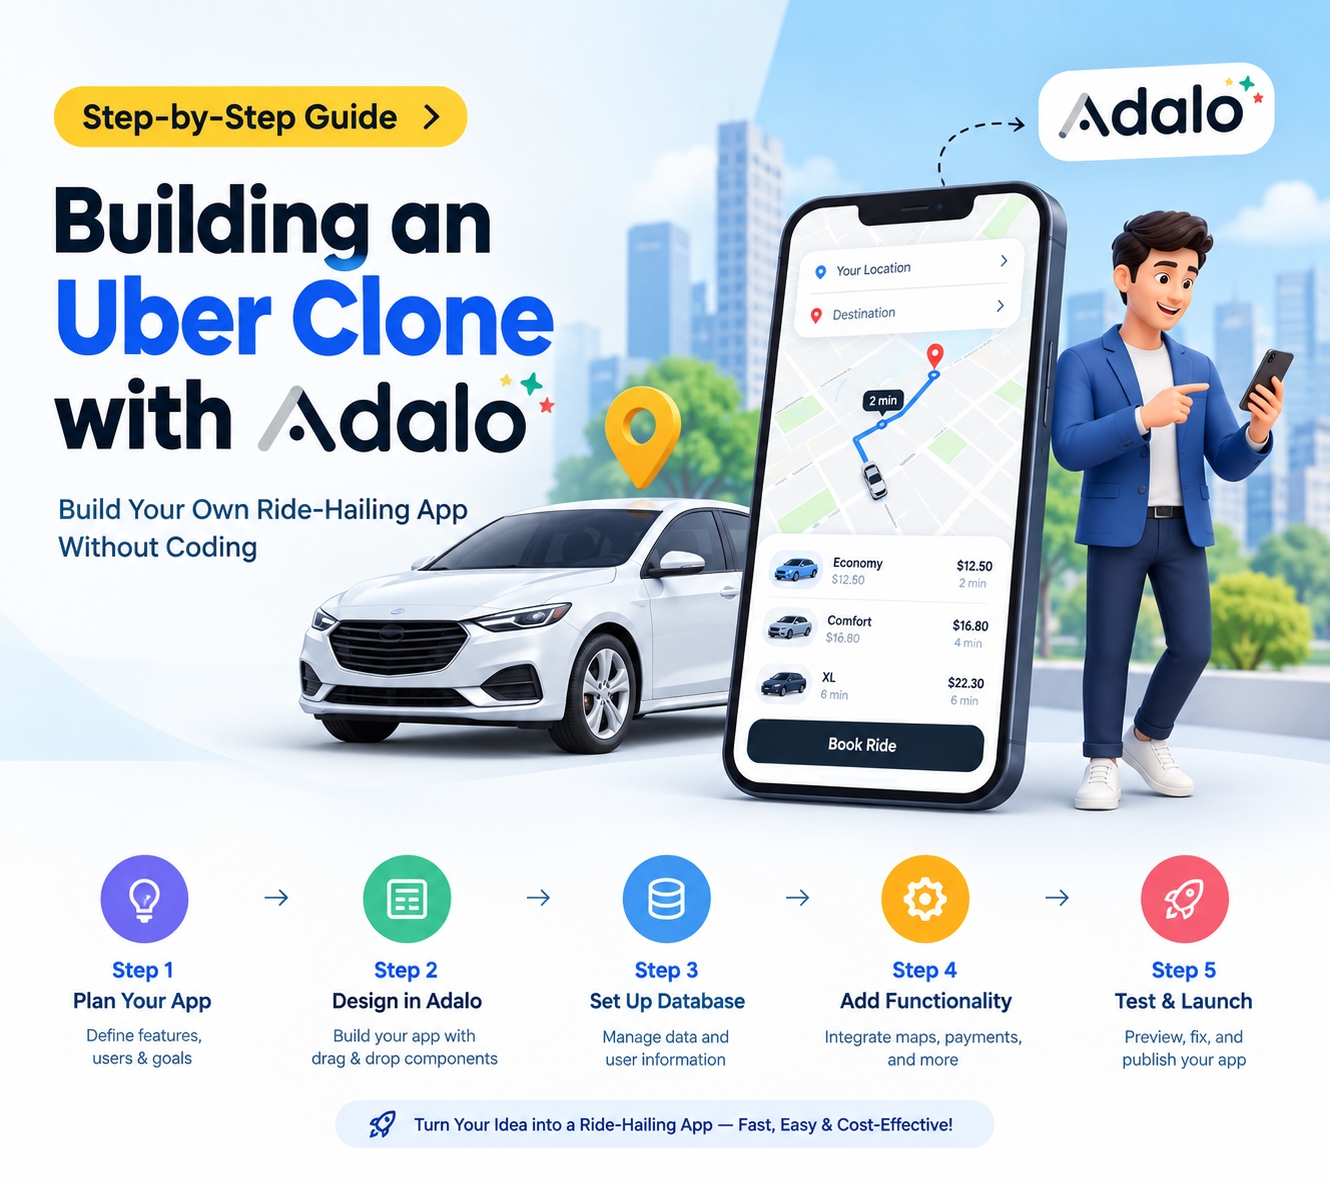
Building a ride-sharing app like Uber is one of the most ambitious projects a founder can take on. The technical requirements alone—real-time GPS tracking, driver-rider matching algorithms, secure payment processing, and seamless cross-platform functionality—typically demand a full development team, six-figure budgets, and months of coding across separate iOS, Android, and web codebases.
Fortunately, no-code technology has changed what's possible for non-technical builders. Adalo is a no-code app builder for database-driven web apps and native iOS and Android apps—one version across all three platforms. AI-assisted building and streamlined publishing enable launch to the Apple App Store and Google Play in days rather than months. This means you can create a fully functional Uber clone with rider/driver matching, booking flows, payments, and ratings—without writing a single line of code.
Why Adalo Is Perfect for Building Your Own Uber Clone
Creating a ride-sharing app might seem like a project reserved for well-funded startups with dedicated development teams, but no-code platforms have changed the game entirely. Adalo is a no-code app builder for database-driven web apps and native iOS and Android apps—one version across all three platforms, published to the Apple App Store and Google Play. This makes it an ideal solution for entrepreneurs who want to launch a fully functional Uber clone without writing a single line of code.
For ride-sharing apps specifically, app store presence isn't just a nice-to-have—it's essential. Riders need quick access to request pickups, while drivers require reliable notifications about incoming ride requests. With Adalo's native publishing capabilities, your app gains the visibility of major app stores and the real-time push notification functionality that keeps both sides of your marketplace engaged and active.
Building a ride-sharing app like Uber traditionally requires a team of developers, months of coding, and separate builds for web, iOS, and Android platforms. The complexity of real-time driver matching, payment integration, and location tracking makes this one of the most challenging app categories to tackle—especially for entrepreneurs and small teams without technical backgrounds or massive development budgets.
That's where Adalo comes in. Adalo is an AI-powered app builder for database-driven web apps and native iOS and Android apps—one version across all three platforms. With AI-assisted building and streamlined publishing, you can launch to the Apple App Store and Google Play in days rather than months. This tutorial will show you exactly how to leverage these capabilities to create a functional Uber clone complete with rider/driver matching, booking flows, payments, and ratings.
Why Adalo Works for Building a Ride-Sharing App
Adalo's cross-platform capability is essential for ride-sharing apps, where both riders and drivers need seamless mobile access to request rides, track locations, and manage payments from their preferred devices. Build once and deploy everywhere—giving your Uber clone the professional presence and discoverability that web-only solutions simply can't match.
For a ride-sharing app to succeed, it needs to reach users where they already are—browsing the App Store or Google Play. With Adalo's native iOS and Android compilation, your app publishes directly to both stores from a single codebase. Plus, native push notifications keep drivers informed about new ride requests and riders updated on their driver's arrival, creating the real-time engagement experience users expect.
The platform's unlimited database records on paid plans means your ride-sharing app can scale from your first 10 users to thousands without hitting data caps or unexpected charges. Unlike platforms with record limits or usage-based billing, Adalo's infrastructure grows with your business.
Step-by-Step Guide: Building an Uber Clone with Adalo
Ada, Adalo's AI builder, lets you describe what you want and generates your app. Magic Start creates complete app foundations from a description, while Magic Add adds features through natural language.
This comprehensive tutorial walks you through building a functional ride-sharing app using Adalo's AI-powered platform. While Adalo has some limitations for real-time features, you'll learn how to create a working app with rider/driver matching, booking flow, payments, and ratings. Adalo's agnostic builder lets you publish the same app to the web, native iOS, and native Android—all without writing a line of code or rebuilding. If your plan is mass distribution through the app stores' vast marketplaces, this is a powerful option compared to many vibe-coding builders that produce web wrappers instead of true native apps.
Prerequisites and Initial Setup
Step 1: Create Your Adalo Account and App
Go to Adalo.com and sign up
Click "Create New App"
Choose "Mobile App" (recommended for ride-sharing)
Name your app (e.g., "RideShare")
Select "Start from Scratch" or use Magic Start to generate a foundation from a description
Step 2: Set Your App Theme
Choose a primary color (e.g., black for professional look)
Select a secondary color (e.g., green for CTAs)
Pick a clean, modern font
Click "Continue" to enter the editor
Building the Database Structure
Step 3: Enhance the Users Collection
Click the Database icon in left sidebar
Click on "Users" collection (already exists)
Add these properties (click "+ Add Property" for each):
Phone Number (Text)
Profile Image (Image)
User Type (Text) - Values: "Rider", "Driver"
Driver Status (Text) - Values: "Available", "Busy", "Offline"
Current Location (Location)
Average Rating (Number)
Total Ratings (Number)
Vehicle Make (Text)
Vehicle Model (Text)
Vehicle Color (Text)
License Plate (Text)
Driver License (Text)
Step 4: Create the Trips Collection
Click "+ Add Collection"
Name it "Trips"
Add these properties:
Trip ID (Text - set to "Auto-Generated")
Pickup Location (Location)
Pickup Address (Text)
Destination (Location)
Destination Address (Text)
Status (Text) - Values: "Pending", "Accepted", "Arriving", "In Progress", "Completed", "Cancelled"
Fare Amount (Number)
Distance (Number)
Duration (Number)
Car Type (Text) - Values: "Economy", "Comfort", "XL"
Created Date (Date & Time - Automatic)
Completed Date (Date & Time)
Step 5: Create the Payments Collection
Click "+ Add Collection"
Name it "Payments"
Add properties:
Payment ID (Text - Auto-Generated)
Amount (Number)
Payment Method (Text)
Card Last 4 (Text)
Status (Text) - Values: "Pending", "Completed", "Failed"
Stripe Payment ID (Text)
Created Date (Date & Time - Automatic)
Step 6: Create the Ratings Collection
Click "+ Add Collection"
Name it "Ratings"
Add properties:
Rating Value (Number)
Comment (Text - Multiline)
Created Date (Date & Time - Automatic)
Step 7: Set Up Database Relationships
In Trips collection:
Add relationship to Users: "Rider" (A User can have many Trips as Rider)
Add relationship to Users: "Driver" (A User can have many Trips as Driver)
Add relationship to Payments: One-to-One
In Ratings collection:
Add relationship to Users: "Rater" (User giving rating)
Add relationship to Users: "Rated" (User receiving rating)
Add relationship to Trips: Many-to-One
Installing Required Components
Step 8: Install Maps Component
Go to Adalo Marketplace
Search for "Maps"
Click "Install" on the Maps component
You'll need a Google Maps API key (Get one here)
Step 9: Install Payment Component
In Marketplace, search "Stripe"
Install "Stripe Payment" component
You'll need Stripe API keys later
Step 10: Install Rating Component
Search for "Star Rating" in Marketplace
Click "Install"
Return to your app editor
Creating User Authentication
Step 11: Build the Welcome Screen
On the default screen, rename it to "Welcome"
Add an Image for your logo
Add Text: "Get rides at the tap of a button"
Add two Buttons:
"Sign Up" → Link to new screen "Sign Up"
"Login" → Link to new screen "Login"
Step 12: Create Sign Up Screen
Add new screen "Sign Up"
Add Form component:
Connect to Users collection
Include fields: Email, Password, Full Name, Phone Number
Add Dropdown for User Type:
Options: "I'm a Rider", "I'm a Driver"
This will set the User Type property
Add conditional actions on submit:
If User Type = "Driver" → Link to "Driver Info" screen
If User Type = "Rider" → Link to "Rider Home" screen
Step 13: Create Driver Information Screen
Add new screen "Driver Info"
Add Form to update Logged In User:
Vehicle Make (Text Input)
Vehicle Model (Text Input)
Vehicle Color (Dropdown)
License Plate (Text Input)
Driver License (Text Input)
Profile Image (Image Picker)
Submit button → Link to "Driver Home"
Building the Rider Interface
Step 14: Create Rider Home Screen
Add new screen "Rider Home"
Install and add Maps component:
Set to show Current User Location
Height: 60% of screen
Below map, add booking section:
Text: "Where to?"
Button: "Enter Destination" → Link to "Book Ride" screen
Step 15: Build the Book Ride Screen
Add new screen "Book Ride"
Add Form component connected to Trips:
Location Input for Pickup (default to current location)
Location Input for Destination
Dropdown for Car Type (Economy, Comfort, XL)
Add fare estimate section:
Text: "Estimated Fare"
Text with formula: Base fare ($5) + (Distance * $2)
Note: Real distance calculation requires external API
Step 16: Create Finding Driver Screen
Add new screen "Finding Driver"
Add loading animation or spinner
Add Text: "Finding your driver..."
Add Button: "Cancel" → Update trip status to "Cancelled"
Set up automatic navigation:
Add countdown timer (60 seconds)
If no driver accepts → Show "No drivers available"
Step 17: Build Driver Match Screen
Add new screen "Driver Matched"
Add driver info section:
Image: Current Trip → Driver → Profile Image
Text: Current Trip → Driver → Full Name
Text: Current Trip → Driver → Average Rating
Text: Vehicle details
Add Map showing:
Driver location
Pickup location
Route between them
Add action buttons:
Button: "Call Driver" → tel:[Driver Phone]
Button: "Cancel Ride" → Update status + penalty
Step 18: Create Trip In Progress Screen
Add new screen "Trip Active"
Add Map component showing:
Current location
Destination
Route
Add trip info bar:
Driver name and photo
Estimated arrival time
Fare amount
Status updates section
Building the Driver Interface
Step 19: Create Driver Home Screen
Add new screen "Driver Home"
Add Toggle component:
Label: "Go Online"
Action: Update Logged In User → Driver Status
Online = "Available", Offline = "Offline"
Add Map showing driver's current location
Add earnings summary:
Today's earnings (sum of trips where date = today)
This week's earnings
Step 20: Build Ride Request Screen
Add new screen "Ride Request"
Show when new trip with Status = "Pending" exists
Display ride details:
Map with pickup and destination
Text: Estimated fare
Text: Distance and duration
Text: Rider name
Add response buttons:
Button: "Accept" → Update Trip (Driver = Logged In User, Status = "Accepted")
Button: "Decline" → Navigate back
Step 21: Create Driver Navigation Screen
Add new screen "Driver Navigation"
Add Map component
Add Button: "Open in Maps"
Link: https://maps.google.com/?q=[Pickup Latitude],[Pickup Longitude]
Add status buttons:
"I've Arrived" → Update Status to "Arriving"
"Start Trip" → Update Status to "In Progress"
"Complete Trip" → Update Status to "Completed"
Implementing Payments
Step 22: Set Up Stripe Payment
On trip completion, navigate to "Payment" screen
Add Stripe Payment component:
Amount: Current Trip → Fare Amount
Save payment method for future use
Add payment form:
Card number
Expiry
CVC
Billing zip
On successful payment:
Create Payment record
Update Trip payment status
Navigate to Rating screen
Step 23: Create Saved Cards Screen
Add "Payment Methods" screen
Add List of user's saved cards:
Show last 4 digits
Card type
Default indicator
Add "Add New Card" button
Building the Rating System
Step 24: Create Rating Screen
Add new screen "Rate Your Trip"
Add trip summary:
Driver/Rider photo and name
Trip distance and fare
Add Star Rating component:
Connected to Ratings collection
Set Rated User based on logged in user type
Add Text Input for comments (optional)
Submit → Create Rating → Update user's average
Step 25: Calculate Average Ratings
Create custom action on rating submission:
Count total ratings for user
Sum all rating values
Update Average Rating: Sum / Count
Update Total Ratings count
Setting Up Notifications
Step 26: Configure Push Notifications
In Actions, use "Request Notification Permission"
For new ride requests:
Filter available drivers within radius
Send notification: "New ride request nearby!"
For status updates:
Driver accepted: "Your driver is on the way"
Driver arrived: "Your driver has arrived"
Trip complete: "Rate your trip"
Creating Additional Features
Step 27: Build Trip History
Add "My Trips" screen
Add List of Trips:
Filter: Rider = Logged In User OR Driver = Logged In User
Sort by: Created Date (Newest First)
Show for each trip:
Date and time
Pickup → Destination
Fare amount
Status
Step 28: Add Driver Earnings Dashboard
Create "Earnings" screen for drivers
Add date range selector
Display:
Total trips
Total earnings
Average rating
List of trips with earnings
Step 29: Implement Surge Pricing
Add "Surge Multiplier" property to Trips
Create logic based on:
Time of day
Number of pending requests
Available drivers
Update fare calculation formula
Step 30: Create Admin Dashboard
Add admin user type
Build screens for:
User management
Trip monitoring
Payment reconciliation
Report generation
Working with Limitations
Step 31: Handle Real-Time Updates
Since Adalo doesn't support true real-time websockets:
Use Countdown Timer components to refresh data
Set refresh intervals (e.g., every 5 seconds)
Update map markers on each refresh
Use push notifications for major updates
Step 32: Implement Location Workarounds
For background tracking (not supported):
Update location only when app is open
Use "last known location" for estimates
For precise GPS:
Consider PragmaFlow components
Use address input as backup
Testing Your App
Step 33: Add Test Data
Create test users:
3-4 riders
5-6 drivers with vehicles
Add sample trips in various statuses
Test payment flows with Stripe test cards
Step 34: Test Core Flows
Rider booking flow
Driver acceptance flow
Trip completion and payment
Rating submission
Trip history viewing
Step 35: Preview and Debug
Use Adalo previewer for desktop testing
Download Adalo app for mobile testing
Check all conditional logic
Verify calculations work correctly
Publishing and Beyond
Step 36: Prepare for Launch
Set up production API keys (Stripe, Google Maps)
Configure push notification certificates
Add privacy policy and terms
Set up customer support flow
Adalo handles the complex App Store submission process, so you can focus on your app's features and user experience instead of wrestling with certificates, provisioning profiles, and store guidelines. At $36/month, you get unlimited app store publishing with unlimited updates—compared to Bubble's $69/month starting price that still requires additional work for mobile deployment and charges usage-based fees.
Step 37: Explore Advanced Features
Consider Barrett Nash's delivery app course for:
Advanced location features
Optimization techniques
Scaling strategies
Scaling Your Ride-Sharing App
One of the biggest concerns for ride-sharing apps is scalability. With Adalo 3.0's completely overhauled backend infrastructure (launched late 2025), apps run 3-4x faster than before. The modular infrastructure scales to serve apps with over 1 million monthly active users, with no upper ceiling.
Unlike platforms with record limits or Workload Units that create unpredictable billing, Adalo's paid plans include no data caps and no usage-based charges. Your ride-sharing app can grow from your first 100 trips to thousands daily without hitting storage constraints or surprise bills. Note that most third-party platform ratings and comparisons predate this major infrastructure overhaul.
Resources for Continued Learning
Adalo YouTube Tutorials
Database Best Practices
Component Documentation
Marketplace Components
This Uber clone will have some limitations compared to the native Uber app, particularly in real-time tracking and background location updates. However, it's ideal for validating your ride-sharing concept or serving smaller communities with basic transportation needs—and with Adalo's scalable infrastructure, you can grow into a larger operation without rebuilding from scratch.
FAQ
Why choose Adalo over other app building solutions?
Adalo is an AI-powered app builder that creates true native iOS and Android apps. Unlike web wrappers, it compiles to native code and publishes directly to both the Apple App Store and Google Play Store from a single codebase—the hardest part of launching an app handled automatically.
What's the fastest way to build and publish an app to the App Store?
Adalo's drag-and-drop interface and AI-assisted building let you go from idea to published app in days rather than months. The platform handles the complex App Store submission process, so you can focus on features and user experience instead of certificates and provisioning profiles.
Can I build a ride-sharing app like Uber without coding?
Yes. Adalo provides all the essential components including maps, Stripe payment processing, user authentication, and database management to create a functional rider/driver matching system with booking flows, payments, and ratings—all without writing code.
How long does it take to build a ride-sharing app in Adalo?
Following this tutorial, you can build a functional Uber clone in 1-2 weeks depending on your familiarity with the platform. The database setup takes a few hours, and each major feature (rider interface, driver interface, payments, ratings) takes 1-2 days each.
How much does it cost to build a ride-sharing app with Adalo?
Adalo's paid plans start at $36/month with unlimited app store publishing and unlimited updates. You'll also need a Google Maps API key (free tier available) and Stripe account (transaction fees only). This compares favorably to Bubble's $69/month starting price with usage-based charges.
What database collections do I need for a ride-sharing app?
You'll need four main collections: Users (with rider/driver properties and vehicle info), Trips (tracking pickup, destination, status, and fare), Payments (for Stripe integration and transaction records), and Ratings (storing reviews and comments). These collections work together through relationships to manage the complete ride-sharing workflow.
Does Adalo support real-time location tracking?
Adalo doesn't support true real-time websockets, but you can implement effective workarounds. Use countdown timer components to refresh data at regular intervals (every 5 seconds), update map markers on each refresh, and leverage push notifications for major status updates like driver acceptance and arrival.
Can I integrate payment processing into my Adalo ride-sharing app?
Yes. Adalo supports Stripe payment integration through a marketplace component. You can set up secure payment processing that charges riders upon trip completion, save payment methods for future rides, and track all transactions in your Payments collection.
Will my ride-sharing app scale as my user base grows?
Yes. Adalo 3.0's modular infrastructure scales to serve apps with over 1 million monthly active users. Paid plans include unlimited database records with no data caps, so your app can grow from your first users to thousands without hitting storage constraints or unexpected charges.
Which is better for mobile apps, Adalo or Bubble?
For native mobile apps, Adalo has a clear advantage. Adalo compiles to true native iOS and Android code, while Bubble's mobile solution is a wrapper for web apps. Adalo also offers simpler pricing at $36/month with unlimited usage, compared to Bubble's $69/month with Workload Units that can create unpredictable billing.